The Best Brownies You've Ever Had?

Maybe. That's a matter of opinion. All I know is, I rarely make a recipe more than once. There are too many new recipes to be made to keep making the same ones over and over. But I've made these brownies countless times. Maybe it's because it kind of feels like a new recipe since I never make them exactly the same way.
And neither should you! Make them how you like them! Like more chocolate? Use normal Oreos, and normal M&M's, and more chocolate! Don't like caramel? (Weirdo) Use peanut butter instead! More of a salty/sweet kinda person? Add pretzels and/or potato chips! Get the idea?
I have to say, this wasn't my absolute favorite batch I've made. My favorite had red velvet Oreos and peanut butter chips and Rolos. Next time maybe I'll try the new mocha Oreos and add chocolate covered coffee beans...Really, the possibilities are endless. But on to this recipe. Here's what I used this time:

And the actual brownie part couldn't be easier. It starts with melted butter, brown sugar, and white sugar.

After it's cooled enough so that the eggs won't scramble (that shouldn't take long), stir them in along with the vanilla extract and salt.

Then just mix in the flour and cocoa until it's combined.
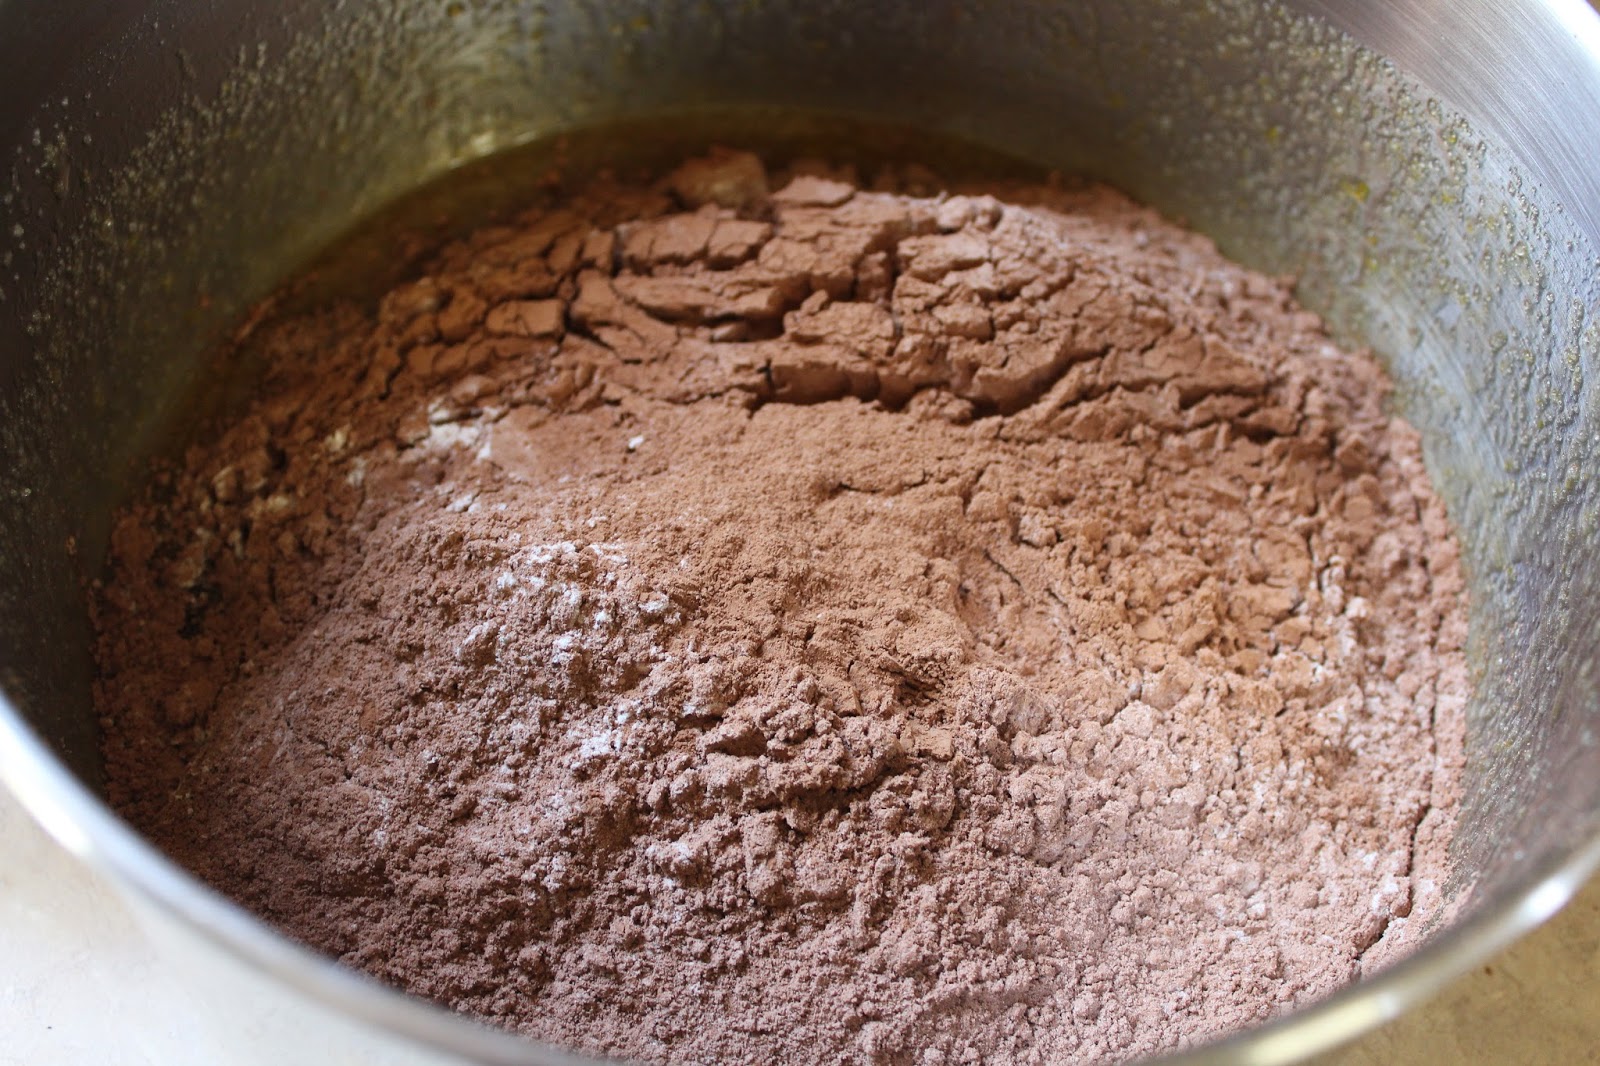
It''ll be pretty thick.

Spread more than half, but less than 3/4 of it (5/8?) in the 8x8 pan that you prepared. You didn't prepare it? No worries. Just spray it, press aluminum foil (or parchment paper, but not wax paper) flat against the bottom and edges, then spray again. Usually I'll just spray a pan for brownies, but these are pretty sticky with the caramel and such. Better safe than sorry.

Line with Oreos. You want to make sure there's an Oreo in every bite, so really jam those things in there.

Then just start layering on the other goodies you've chosen. Dulce de leche:

Nutella

Another shot of the Nutella, 'cause it's just so photogenic. ;P

Vanilla cupcake M&M's

Chocolate chunks

White chocolate chips

The hardest part is spreading the rest of the batter over the top without disturbing the filling too much. It's cooled down pretty much completely at this point, but I can usually get it in an even layer by dropping globs of it all over the top, then gently pressing it together with a spatula.

Bake it at 350 degrees F for about 25-30 minutes (The center will still look a little shiny and uncooked when it comes out...that's okay!)

Then cut it into 16 squares (they usually end up being taller than they are wide) and run to your backyard to take pictures! If you post a picture of your creation on Instagram, please tag me! I'd love to see what you choose to go inside yours!


Kitchen Sink Brownies
(Have you noticed that I can't decide on a name?)
Ingredients:
- 1/2 cup butter (1 stick), melted
- 1/2 brown sugar, packed
- 1/2 cup white sugar
- 1/2 tsp salt
- 1 tsp vanilla extract
- 2 eggs
- 3/4 cup cocoa powder
- 3/4 cup flour
- Oreos, caramel, Nutella, candy, etc.
Instructions:
- Preheat oven to 350 degrees and spray and line an 8x8 pan.
- Combine melted butter with both sugars.
- When cooled, add eggs, vanilla, and salt.
- Mix in cocoa and flour until just combined.
- Press 5/8 of batter in an even layer on the bottom of the pan.
- Place layers of Oreos, and other candies that you've chosen.
- Press the remaining 3/8 of batter onto the top.
- Bake for 25-30 minutes. No longer!
- Allow to cool completely before cutting. I feel obligated to say that, but I obviously didn't do that myself. ;)


